How to Professionally Detail an RV or Motorhome


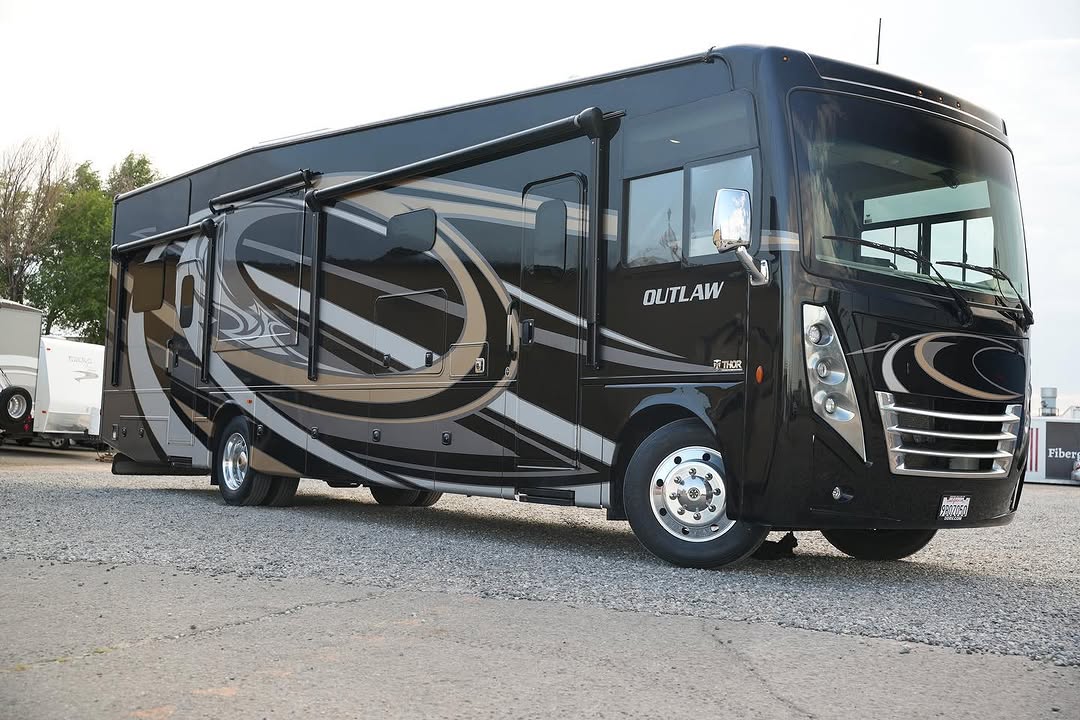
This is an example of how beautiful an RV or Motorhome can look after a Wash and Wax. *Bonus points if you can spot Coco the shop manager doing her routine inspection!
With over four years of professional RV detailing experience in Colorado, we’ve perfected a reliable process to clean, protect, and enhance your RV or motorhome. Here's how:
- Roof Cleaning: Start with a deep clean using Dicor Cleaner Activator for EPDM, TPO, or fiberglass roofs. Scrub with a medium-bristle brush and rinse thoroughly.
- Roof UV Protection: Apply Dicor Roof Guard with a microfiber cloth to prevent UV damage, cracking, and discoloration.
- Exterior Foam Soak: Use a foam cannon with a Meguiar's RV Gel Wash to remove surface dirt, followed by a soft-bristle scrub and rinse.
- Wax or Ceramic Spray: Apply GLIDECOAT Ceramic Spray in sections to protect against oxidation and the elements, leaving a smooth, glossy surface.
- Window Cleaning: For spotless stain-free windows use Meguiar's Glass Cleaner and microfiber towels.
- Tire and Wheel Cleaning: Use a heavy-duty cleaner (we recommend Meguiar's Hot Rims)and soft-medium brush to scrub the wheels and tires thoroughly to remove any dirt and/or road grime.
- Tire Shine: Use your favorite tire shine (we love Chemical Guys Tire Kicker) to complement your freshly detailed RV.
Want us to do your detail for you? Check out our detailing page and book a service you'd like!
Hi, I’m here to walk you through my process of washing and waxing an RV or motorhome. After over 4 years of doing RV and motorhome detailing in Colorado, I’ve learned a thing or two about keeping them looking showroom fresh. Whether you’ve got a compact Class C or a massive diesel pusher, these steps will work for you.
Step 1: Roof Cleaning

The roof is the first step because everything we clean up there will drip down the sides. I like to use Dicor Cleaner Activator for EPDM, TPO, or fiberglass roofs. It’s specifically formulated to deep clean and remove stubborn grime.
- How I Do It: I spray a generous amount of the cleaner across the roof, working in small sections. I use a medium-bristle brush attached to a long handle to scrub away dirt, mold, or algae buildup (yes, you’ll even see algae on some of these roofs). Once that’s done, I use a pressure washer to rinse thoroughly before applying the UV protectant in the next step.
*Please Be VERY careful with pressure washers as they can damage your seals. I make sure to use a wide nozzle and spray at least 2-3 feet away from the surface.
Step 2: Apply Roof UV Protectant
To keep the roof from degrading or discoloring, I apply a roof UV protectant. My go-to product is Dicor Roof Guard.
- How I Do It: I keep the concentrated solution in a spray bottle and use a microfiber cloth to work it in evenly, making sure to cover the entire roof by working in sections. This step adds a barrier against the sun’s rays, helping to prevent cracking and aging.
Step 3: Full Exterior Foam Soak

Now it’s time to give the RV a good foam bath. This step removes surface dirt and prepares the exterior for waxing.
- How I Do It: I use a foam cannon attached to a pressure washer and fill it with a concentrated RV soap like Meguiar’s Marine/RV Gel Wash. I coat the entire RV in foam, let it sit for about 5 minutes to loosen the grime, and then scrub using a soft, extendable brush. Finally, I rinse everything off thoroughly.
Step 4: Wax or Ceramic Spray Application

Now for the fun part--protecting the exterior! For most RVs, I use GLIDECOAT Ceramic Spray because it offers better protection against oxidation and the elements than your typical wax.
- How I Do It: I spray the ceramic spray directly onto a clean section of the RV and spread it evenly with a microfiber applicator. Then, I buff it out with a separate microfiber towel. I work in 3x3-foot sections to ensure I don’t miss a spot. The result is a smooth, glossy finish that repels dirt and water.
Step 5: Window Cleaning
Spotless, streak-free windows make all the difference when you’re on the road. I use Meguiar's Glass Cleaner for this step.
- How I Do It: I spray the cleaner directly onto the windows and use a microfiber towel to wipe them down in straight, overlapping strokes. For a flawless finish, I use a second dry towel to buff out any streaks.
Step 6: Tire and Wheel Cleaning
The wheels and tires need love, too. Road grime, brake dust, and contaminants can lead to corrosion if left unchecked.
- How I Do It: I spray on a heavy-duty wheel cleaner like Meguiar's Hot Rims, letting it sit for a couple of minutes. Using a soft-bristle brush, I scrub each wheel and tire thoroughly, then pressure wash the grime and dirt. For stubborn grime, I might go in with a smaller detailing brush to get into the nooks and crannies.
Step 7: Tire Shine Application
Tire shine isn’t just for looks; it helps protect rubber from drying out and cracking. I use Chemical Guys Tire Shine.
- How I Do It: I spray the tire shine directly onto the tires, making sure to avoid the tread. After a few minutes, I wipe off any excess with a towel for a clean, glossy finish.
Final Thoughts
And there you have it! If you're working alone, this process should take 3 - 6 hours depending on your energy levels, but the results can be worth it. Your RV will not only look fantastic but will also be protected from the elements for months to come. If you don’t have the time or equipment, I’d be happy to help! Just give me a call or book a service. Let’s keep those RVs looking their best for all your adventures!