.png)
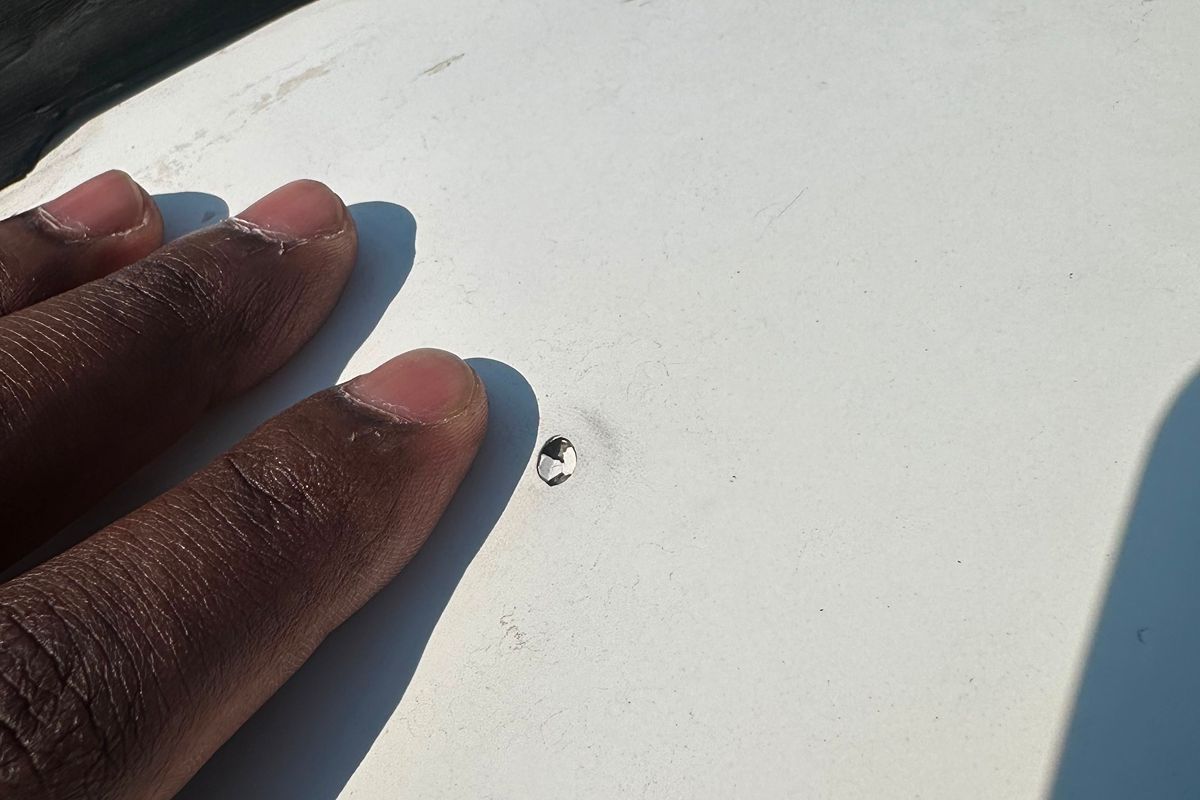
The storm has passed, and you are walking around the rig looking for the damage. From the ground, the sidewalls look fine, the awning is intact, and it is tempting to decide you got lucky. Hold that thought.
Hail falls straight down, so the surface that takes the worst beating is the one you cannot see from the ground: the roof and everything mounted on it. Worse, the most damaging harm is nearly invisible. Cracked sealant, lost granules, hairline fiberglass fractures, and pinholes can let water in for weeks before a single drop shows up inside.
This guide covers why your roof took the brunt of it, what visible and hidden hail damage look like, why even small hail counts, how a professional actually inspects, and why finding it early is the difference between a cheap fix and a five-figure water-damage bill. FiberglassWorx handles professional RV hail damage repair across the Front Range.
Start with what you can spot from a ladder or the ground. Obvious damage up top is a strong hint that the hidden damage is worse.
Any of these on the outside means it is worth looking closer at the fiberglass underneath. We handle that kind of surface damage, from cosmetic dents to gel coat pitting.
This is the damage that actually matters, because it is quietly letting water in while everything still looks fine from below.
Most of this lives on the roof, out of sight, which is why a real inspection focuses there. It is the heart of what RV roof hail damage repair is about.
Yes, and this is the myth worth busting first. Insurance companies only track claims from hail an inch or larger, but that threshold is about claims, not about damage. Even sub-severe hail, under an inch, chips away at a roof's resistance and speeds up its aging.
A 2025 industry study went further and found that smaller hail can be more damaging to roofs than people used to assume. So a storm that looked minor, or that only caught the edge of your rig, can still leave real damage behind. Do not let the size of the stones talk you out of a look.
There is a Colorado wrinkle too. High-altitude UV already ages RV membranes and sealant faster than they would age at sea level, so a roof that is only a few years old is more brittle and cracks more easily. And because the Front Range gets hit so often, the damage is cumulative, with small storms adding up season after season.
A proper hail inspection is a lot more than a glance from the ground. Here is what a trained technician actually does, and why it is not a do-it-yourself job.
A technician trained to distribute their weight walks the entire roof and inspects it up close in good light. This matters for safety as much as for thoroughness. Every extra person who climbs onto a hail-damaged roof can cause more damage, so this is exactly the step you should not attempt yourself if you suspect the roof is already compromised.
The eye misses a lot, so a good inspector uses touch. Running a hand across the fiberglass and gel coat finds hairline cracks that you simply cannot see. Rubbing chalk across a panel is an old trick that still works, because the chalk skips over dents and settles around them, revealing impact points that were otherwise invisible.
This is the step a ground-level glance can never replace. A moisture meter reads through the roof layers and the interior ceiling to detect damp wood and trapped moisture before any mold starts or any stain appears. It is how a pro catches water intrusion while it is still cheap to fix, rather than months after it has spread.
Finally, the inspector goes over every seam and roof penetration, checking the lap sealant for cracks and separation, and photographs each impact and problem area. That documentation is not busywork. It is what supports your insurance claim and gives the adjuster a clear, dated record of exactly what the storm did to your rig.
FiberglassWorx does this inspection indoors, documents everything to adjuster standards, and works directly with your insurer on the hail claim, which is the core of professional RV hail damage repair.
A cracked bead of sealant looks like nothing. Left alone, though, it sets off a slow chain of events that turns a small problem into a five-figure one. Here is how that happens.
Water finds the smallest opening. It enters through a sealant gap or a pinhole, then wicks sideways into the wood roof decking and framing, spreading well beyond where it got in. That is why a leak often shows up on the ceiling feet away from the actual breach, and why the visible stain is almost never the whole story.
Once moisture is trapped inside the structure, it goes to work. It separates the fiberglass or luan from its substrate, a failure called delamination that leaves the wall looking wavy or bubbled. It softens and rots the wood framing, and it grows mold in the dark, damp cavities. By the time any of it is visible, the rig has been quietly compromised for a while.
The math is the whole argument for acting early. Handling it right away is far more affordable than waiting. The repair may still cost real money, but it is a fraction of what it turns into if you let it sit. Once water is in, delamination repairs commonly run ten thousand to fifteen thousand dollars or more, and full structural water-damage repairs can top twenty thousand, often before mold remediation and interior work are even counted.
Most hail damage that turns into a disaster does so because of an avoidable mistake in the first few weeks. Here are the big ones.
Avoid those five and you keep both your options and your insurance claim open.
After any notable Front Range hailstorm, yes. A professional inspection is cheap insurance against a hidden five-figure problem, and it protects your claim while the window to file is still open. If the storm was bad enough to make the news, it was bad enough to check your rig.
FiberglassWorx is a dedicated indoor fiberglass shop at 7685 Dahlia Street in Commerce City. We inspect and repair roof, fiberglass, gel coat, and sealant damage, document the hail claim to adjuster standards, and work directly with your insurer. Most jobs turn in four to six weeks, backed by 200-plus five-star Google reviews and a better-than-factory standard. When other companies say no, we say yes.
Call or text (303) 585-0515, or contact us to get started.
