.png)
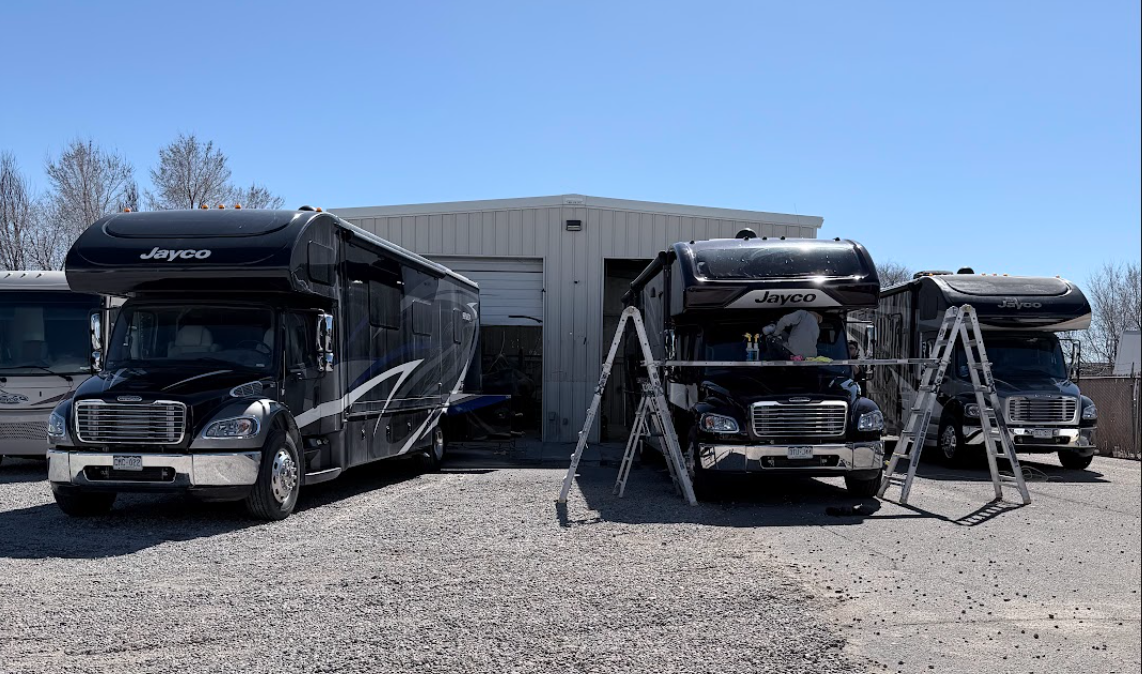
You dropped the keys off, or you are about to, and now the waiting starts. If this is your first time putting a rig through body repair, the process can feel like a black box: what is actually happening back there, why does the estimate keep changing, and when do you get the RV back?
This guide walks through the real sequence at a Colorado RV body shop, from the first estimate to the day you pick up the keys. It covers how insurance and supplements work, what teardown reveals, the repair steps themselves, and the paperwork you should walk away with. Knowing the process in advance turns a stressful few weeks into a predictable one.
This is the experience we walk Front Range owners through every week at FiberglassWorx, a dedicated RV body shop in Denver. Consider this your map of what happens between drop-off and pickup.
The first estimate is a starting point, not a final number. A tech walks the rig, notes the visible damage, and writes an estimate based on what can be seen and measured from the outside. That is normal, and it is also why almost no RV estimate is the last word on cost or scope.
Bring your registration, your insurance information, photos of the damage if you have them, and a plain list of anything that seems off, from a soft spot in a wall to a door that will not latch right. Rig size matters too. A Class A or a long fifth wheel needs a bay and a booth built for its length and height, so scheduling a drop-off is part of the estimate conversation, not an afterthought.
Because visible damage is only part of the picture, the real scope usually firms up once the rig is opened up on the shop floor. That is the honest expectation to set from day one, and it is the same expectation our team walks through as part of RV fiberglass repair and restoration.
A good RV body shop manages the claim alongside the repair, not just the repair. That means documenting the damage to adjuster standards, submitting photos, and staying in contact with your adjuster so you are not stuck relaying messages back and forth between two parties who are not talking to each other.
In Colorado, the choice of shop is yours. State law gives owners the right to pick their own repair facility, and an insurer is not supposed to require or steer you toward a specific shop or penalize you for choosing one that is not on a preferred list. If you feel pressured, you can raise it with the Colorado Division of Insurance. It is worth choosing a family-owned RV specialist who will have that conversation with you before the adjuster ever calls.
It also helps to know how your policy treats a worst-case scenario. RV policies are commonly written as either agreed value, a pre-set payout amount if the rig is totaled, or actual cash value, the depreciated market value at the time of loss. Colorado has no statutory total-loss threshold, so each insurer applies its own guidelines, and ACV is the default unless your policy specifically says agreed value. Check your declarations page so you know which one you have before you need it. FiberglassWorx handles the adjuster conversations directly as part of RV collision repair with insurance handled.
Teardown is where the real job gets defined. This is the point in the process where the shop stops guessing from the outside and starts finding out what is actually going on underneath the skin.
It is also normal for the estimate to change here, and that is not the shop padding the bill. It is the shop finding what could not be seen before.
Techs remove exterior panels, baggage doors, awnings, and trim to get a clear look at what is underneath. On units with frame damage, a laser measurement checks the chassis against factory specifications, since even a small misalignment can affect how the rig tows or handles down the road.
Every affected wall and roof section gets checked with a moisture meter, because a hard impact can crack the bond between the fiberglass skin and the core underneath without leaving a visible mark. Catching that moisture path now is what keeps a repair from turning into a much bigger, much later problem.
Techs also scan for cracked welds and bent slide-out rails while everything is open, since those are the same kind of hidden issues a surface inspection cannot catch. This is typically where a supplement, an updated estimate covering what teardown found, gets written and sent to your adjuster for approval. Expect at least one round of this on any repair beyond a simple cosmetic fix.
Once the scope is confirmed, the actual repair follows a fairly consistent sequence, whether the job is a cracked front cap or a full sidewall rebuild.
Anything affecting the frame, studs, or slide-out rails gets corrected before cosmetic work starts, since roadworthiness depends on it. Fiberglass repair is not like sheet metal work: it takes longer and involves more steps. A general auto body shop might simply unbolt a damaged section and swap in a new panel, but a molded fiberglass RV body rarely allows that, so the damaged area has to be rebuilt and reshaped by hand instead.
With the structure sound, the crew rebuilds damaged fiberglass skins and panels, fabricates or sources baggage doors and trim, and restores the original contours. Good shops can fabricate a panel in-house rather than wait weeks on a discontinued factory part, which keeps the timeline from stalling on parts alone while still matching the original shape and mounting points.
Before any color goes on, the repaired area gets sanded, filled, and blended into the surrounding surface so the transition disappears rather than reads as a patch. This step is tedious and easy to rush, but it is the difference between a repair that vanishes and one you can spot from across the campground on your next trip.
Technicians tint gel coat by hand to match your rig, or run a full-body paint job through a downdraft booth sized for a coach, not a car. Matching a color that has already faded a bit under Colorado's strong high-altitude sun takes a practiced eye, and a redo for a dust nib, a fisheye, or a slight mismatch can quietly add a day or two to the schedule.
Exterior and interior components go back on, and the crew reinstalls anything disturbed by the panel and structural work, then confirms slide-outs, awnings, doors, and windows operate correctly. Nothing moves forward until everything opens, closes, and seals right. Mechanical or electrical systems get checked separately by the right specialist, not as part of body repair.
That sequence, structural first, then body, then finish, then reassembly, is what keeps a repair from having to be redone. Skipping ahead to make a rig look finished faster almost always costs more later.
This is the question almost every owner asks once the first supplement lands. The honest answer is that RVs are a smaller, more specialized field than auto body work, and the vehicles themselves are closer to hand-built than mass-produced.
None of this means a shop is dragging its feet. It means the job genuinely has more moving parts than a fender-bender on a sedan. FiberglassWorx targets a four-to-six-week turnaround on most jobs, well under the waits some owners report running into months at dealership service departments, though scope and parts availability always set the real timeline.
An RV is not a car you can leave in a small lot overnight. A shop working on rigs needs secure, weather-protected storage and drive-in bays sized for the vehicles it takes on, and during peak season, especially right after a hailstorm rolls through the Front Range, units can sit for a stretch before teardown even begins.
It is worth asking directly about security and storage conditions before you drop off: is the lot fenced, is it covered or indoor, and where does the rig sit while it waits its turn. FiberglassWorx works out of an indoor, climate-controlled facility, which also matters for the repair itself, since fiberglass and coatings need controlled temperature and humidity to cure correctly.
Living in the rig during a body repair is not realistic. Structural and fiberglass work means panels off, power and water disconnected in places, and dust and fumes from sanding and finishing. Plan on alternate lodging for the duration, and treat any estimate of when the rig will be livable again as a range, not a fixed date, until the scope is confirmed after teardown.
Leaks are the long-term risk that matters most after any body or roof repair, since water finding its way behind a panel or seam is what eventually leads to the expensive, structural kind of damage nobody wants to pay for twice.
A thorough shop runs a final inspection before handing the rig back, checking that every seal, gasket, and trim piece disturbed during the repair is reinstalled and sealed correctly. That includes a water or leak test around the repaired area and any seams that were opened during teardown, not just a visual once-over.
Functional checks matter too. Slide-outs, doors, windows, and awnings should all be verified operating correctly before pickup, since a rushed reassembly is where a binding slide or a door that will not seal slips through unnoticed. No interior leak showing up right away does not mean the seal is good, since a slow leak can take weeks to show itself, which is exactly why this step happens before you drive away, not after.
Paperwork feels like the least exciting part of the process, but it is what protects you if anything comes up later, whether that is a warranty claim, a resale question, or a future insurance claim on the same rig.
Keep all of it together in one folder, physical or digital. FiberglassWorx backs workmanship with a written warranty and hands over full documentation at pickup, precisely so none of this is a scramble later.
Owners are not just bystanders in this process. A few habits genuinely help a repair move as fast as the scope allows.
None of this shortens a genuinely complex structural repair, but it does prevent the delays that are actually within your control. See the kind of work this process leads to in our recent RV repair work, or check our reviews from owners who have been through it.
An RV body repair has real steps: estimate, insurance coordination, teardown, structural work, fiberglass and finish, reassembly, and a leak test before you drive away. Knowing that sequence in advance is what makes a multi-week repair feel manageable instead of mysterious.
FiberglassWorx is a dedicated indoor fiberglass shop at 7685 Dahlia Street in Commerce City, serving Denver and the Front Range. We handle the insurance conversation directly, keep you updated at every stage, and target four to six weeks on most jobs. Backed by 200-plus five-star Google reviews and a better-than-factory standard, we would rather rebuild your rig right than rush it.
Tell us what you need and we will handle the rest. Call or text (303) 585-0515, or get a free estimate to get started.
